H70: Building an Ortholinear Split Keyboard
- HariharanIntroduction
I got an Ender 3 V2 a few months back. I wanted to have access to a 3D printer since I was in high school but they were too costly and not readily available in India. Also, it was difficult to justify why an 8th grade student needs an additive manufacturing machine.
In the past few years, 3D printers have become more reliable and cheap, and now was a perfect time to get one.
I printed a lot of test prints and models from thingiverse and printables initially. I was also learning to use FreeCAD and trying to design simple stuff. I needed a large project to use all my newly learned skills. So, I designed a 9-key macropad based on the Pi Pico. I designed the enclosure and the keycaps. It was an interesting project, and the next natural progression was to build a full keyboard.
Keyboard
I wanted to try an ortholinear layout. The Drop + OLKB Preonic costs nearly 30K INR in India on Amazon at the time of writing. The best option was to build one.
The main components in the keyboard are
- The enclosure / build plate to hold the switches
- Switches (That’s a very large topic to cover in a blog post)
- Microcontroller (with USB HID support)
- Keycaps
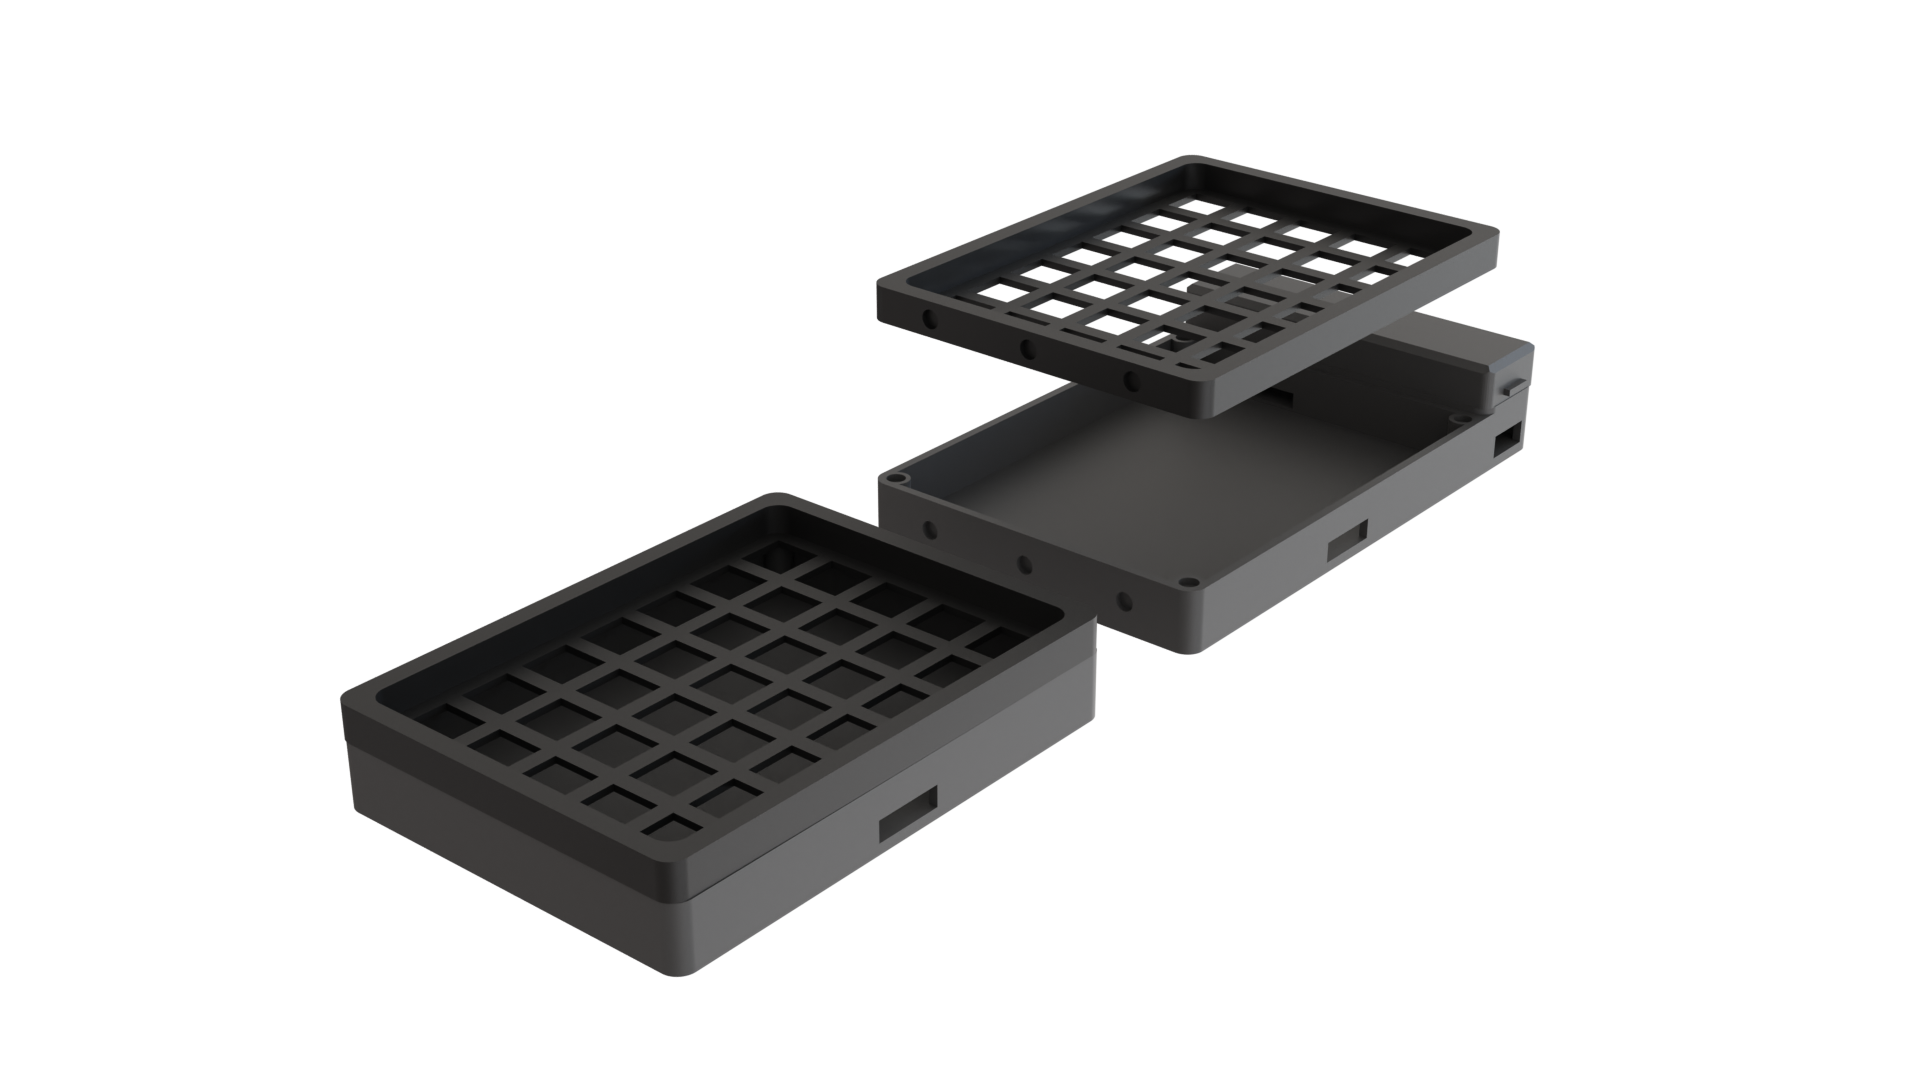
Enclosure
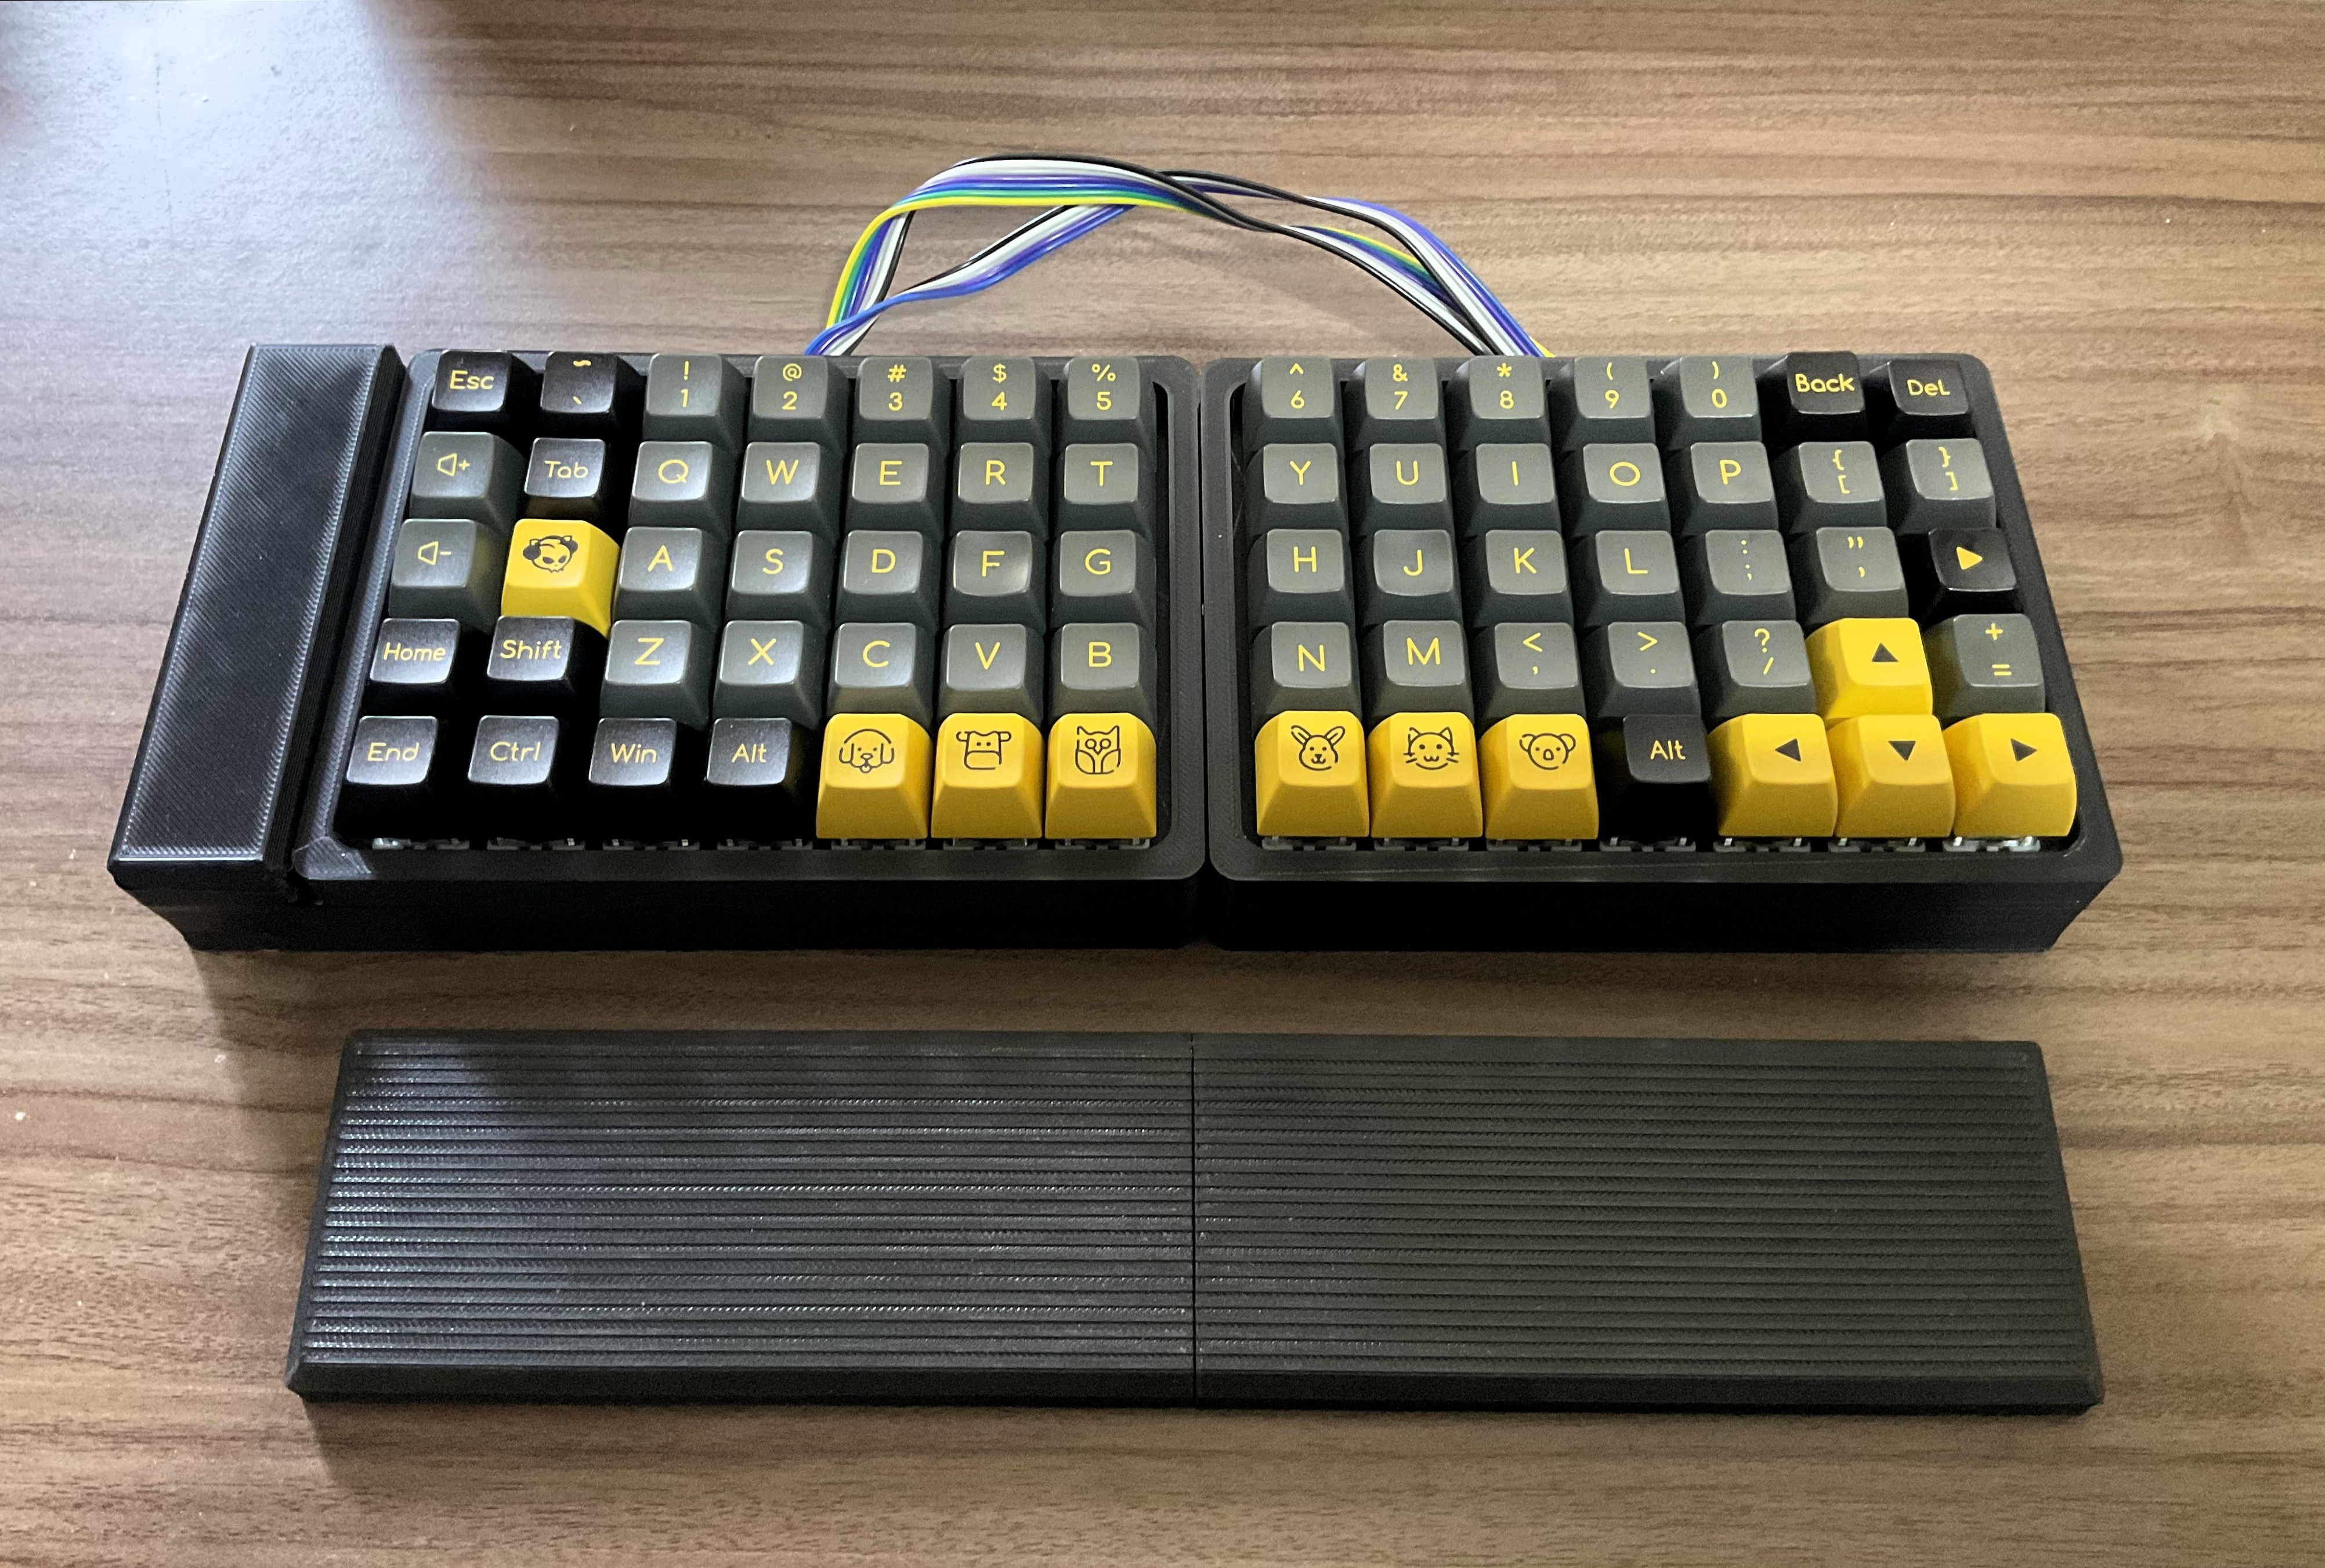
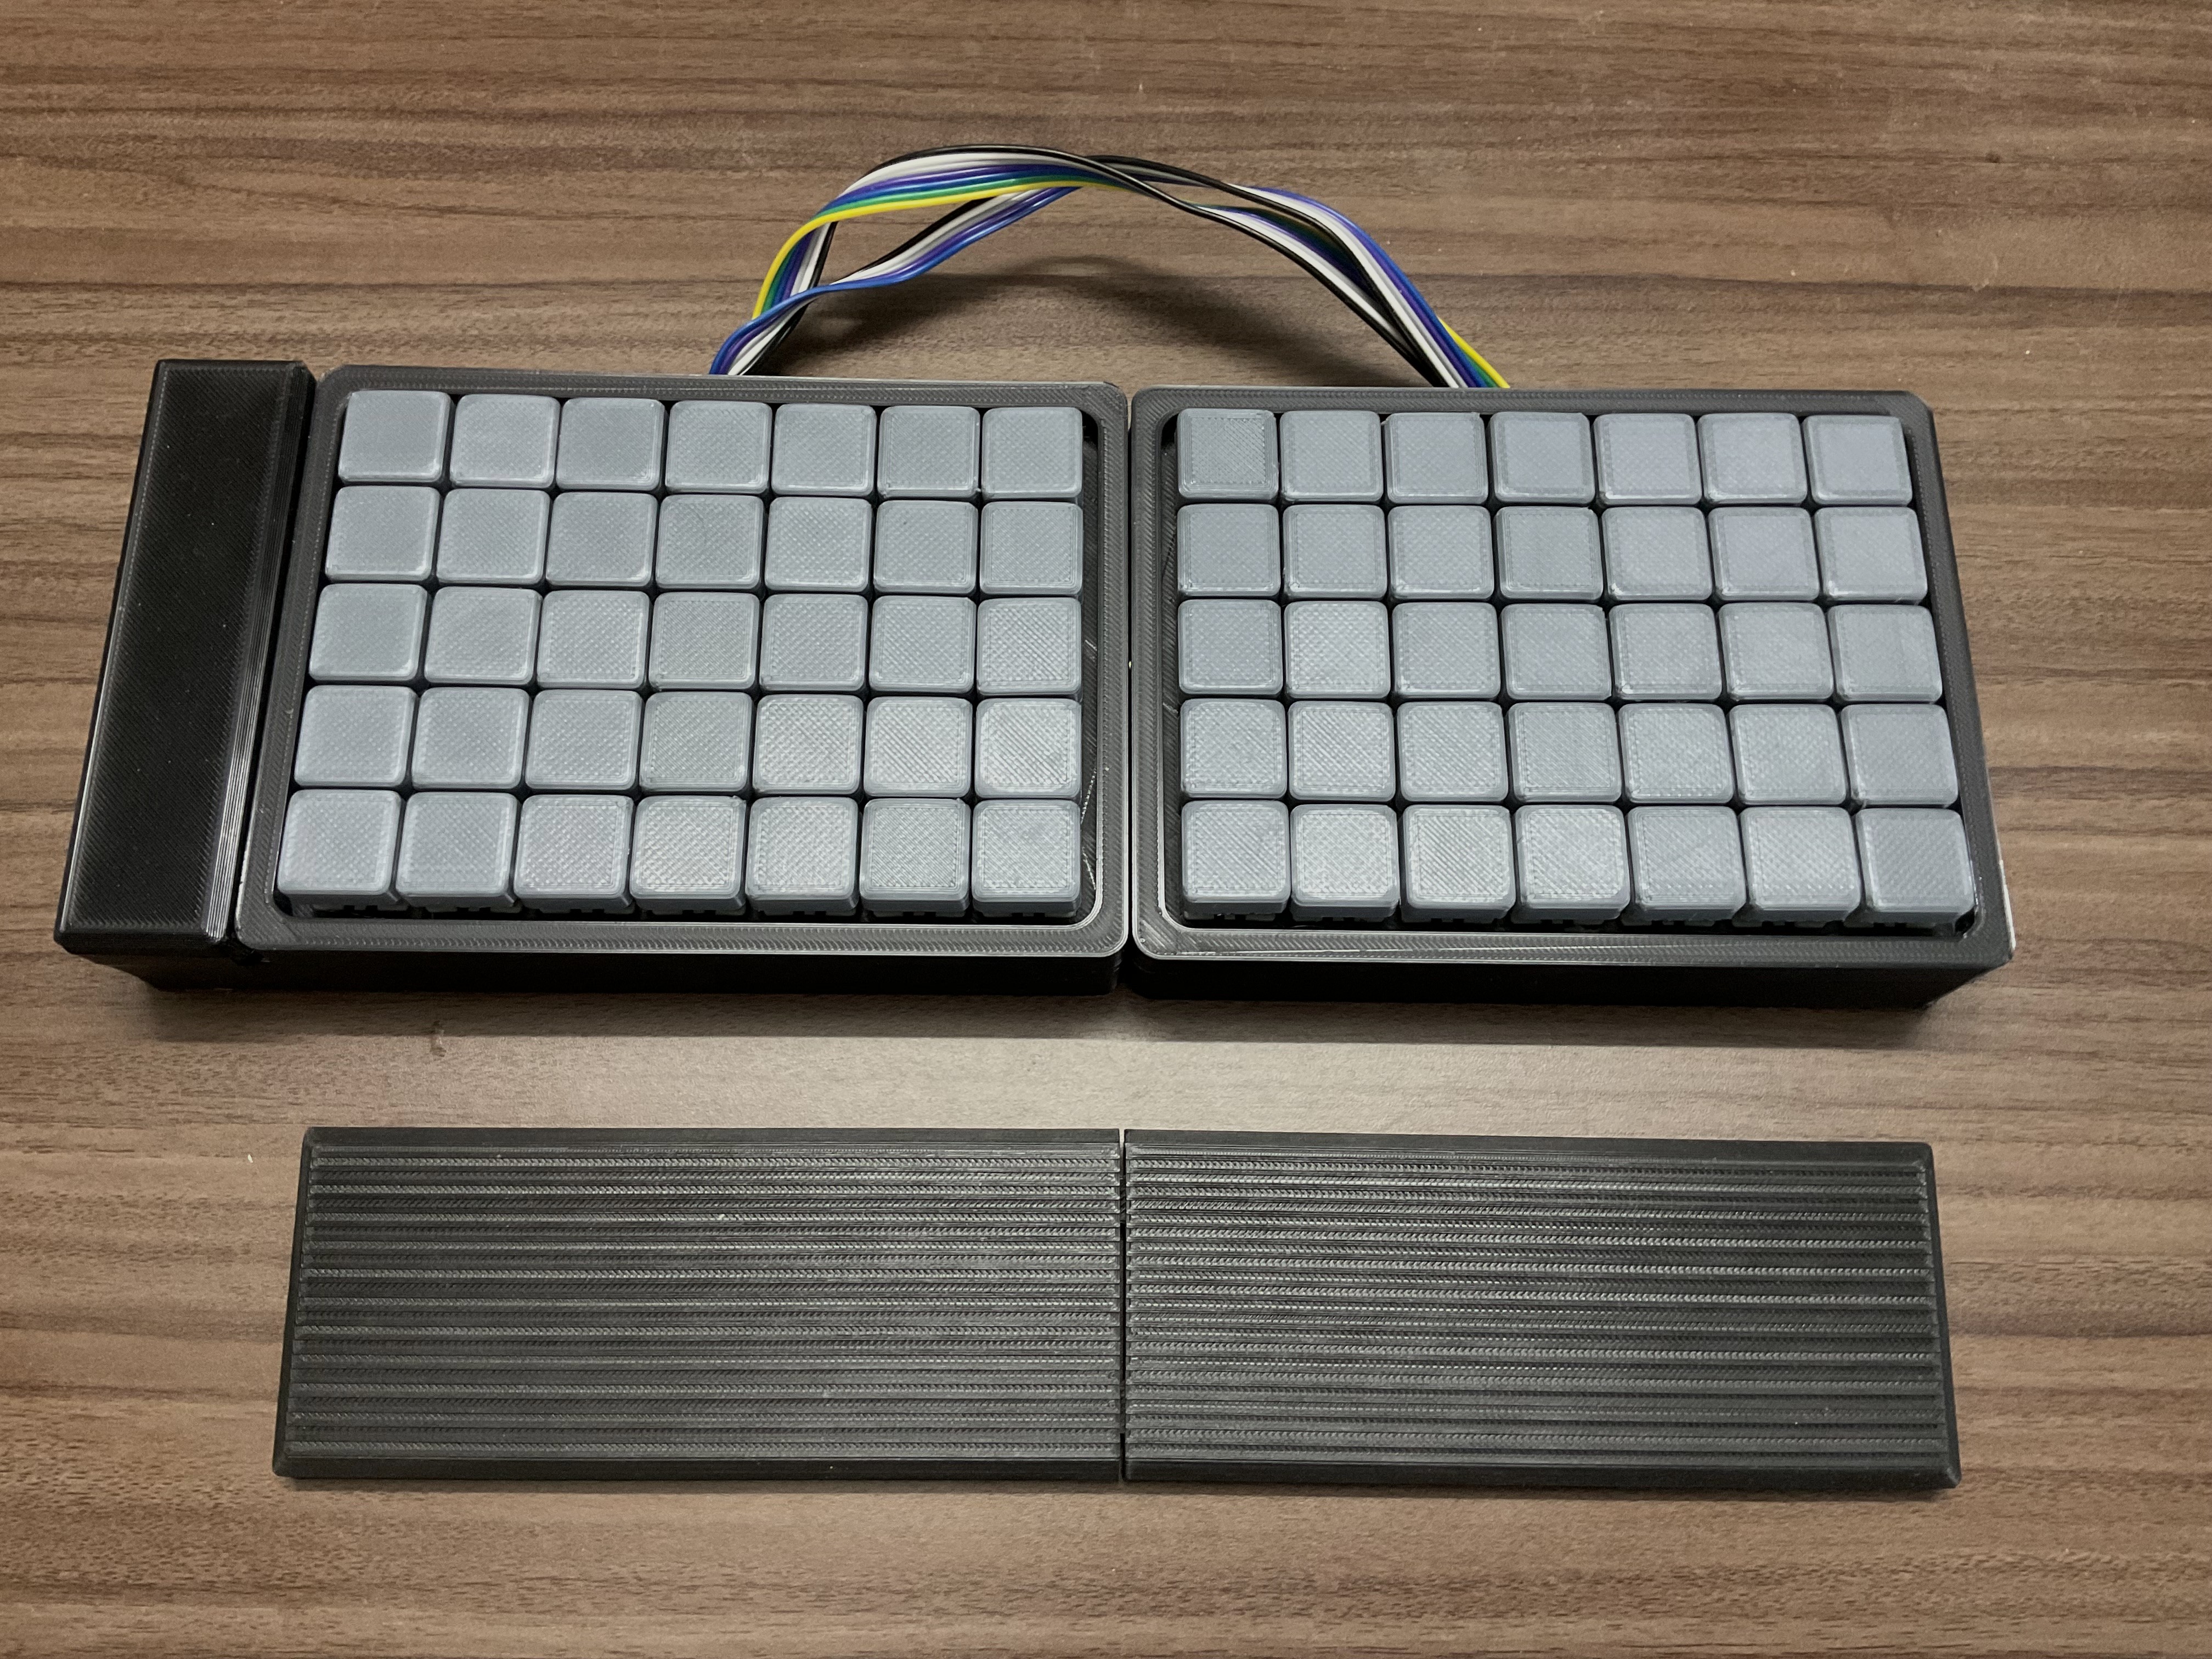
I kept the design of the enclosure very simple. I had to split it to accommodate the build volume of the printer. And as I was designing, I decided to have the split boards magnetically attach to each other since it would be less permanent and more gimmicky. Split keyboards are also supposed to be ergonomic.
I wanted to use only a single MCU for both the halves. My initial plan was to link both halves with a USB c cable using this breakout board. But I then realized the connections are not straightforward and the cable orientation had to be maintained. I couldn’t get it to work, so I just used a rainbow cable.
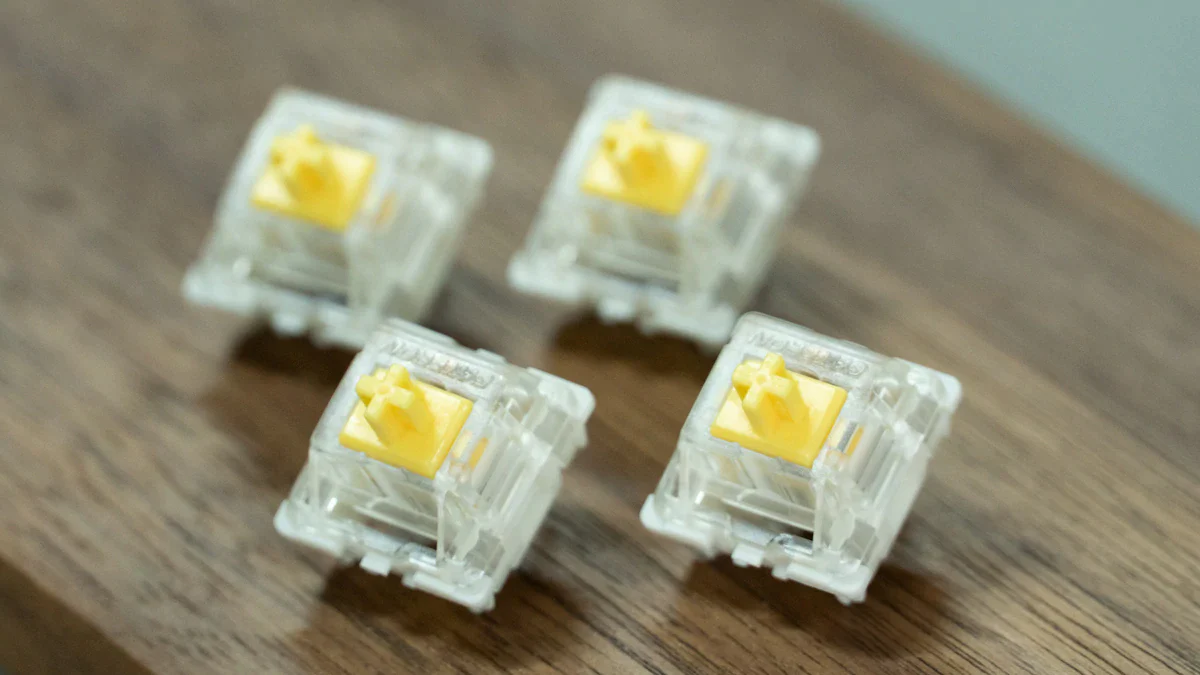
Switches
Deciding on a mechanical switch was surprisingly easy for me. I wanted to try a linear switch because my current keyboard uses the tactile Gateron Brown. I went with Gateron yellows, mainly because of a slightly larger actuation force compared to Gateron Red.
Microcontroller
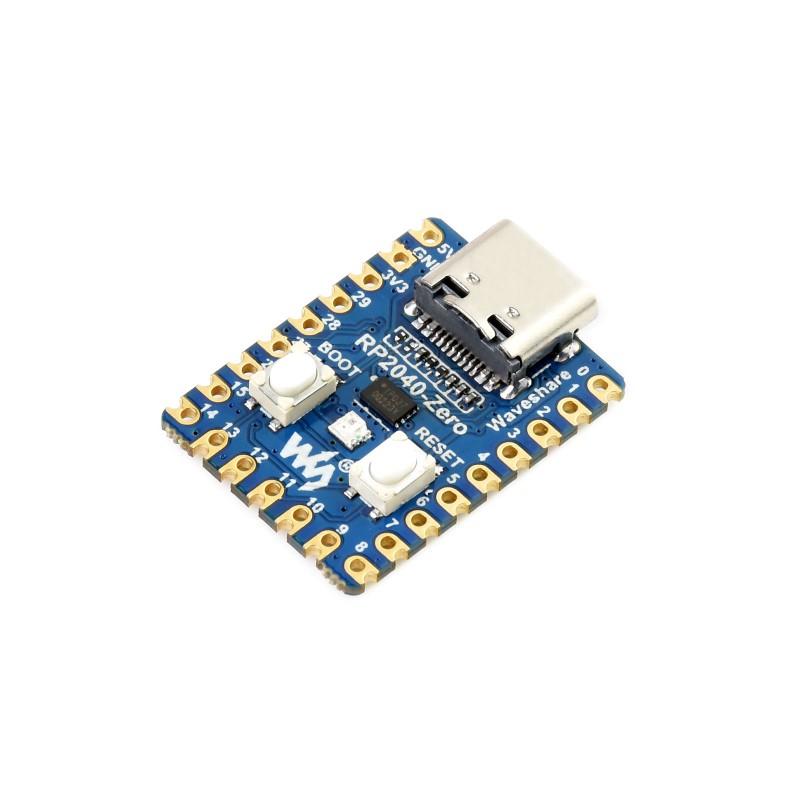
The firmware was also an easy decision. I was going to use QMK, which meant I would have to use something like the pro-micro. But as I was going through the documentation, I saw that RP2040 support was added very recently.
I already had a couple of Pi Picos but as I was looking for a new MCU when I came across Waveshare RP2040 zero board. It has a very small footprint and a USB-C connector. It is also very cheap. I immediately bought one.
Keycaps
My initial plan was to 3D print keycaps. I wanted the keyboard to have a “retro” feel, so I was trying to print XDA/DSA style keycaps. The keycaps didn’t turn out the way I wanted. I had to sand them and paint them to get a retro feel, and that would have been tedious.
So, just for building the prototype, I printed these flat keycaps. They look cool and work fine. The only issue was with the text. They were blank keycaps and since this was a new layout, I wanted printed keycaps.
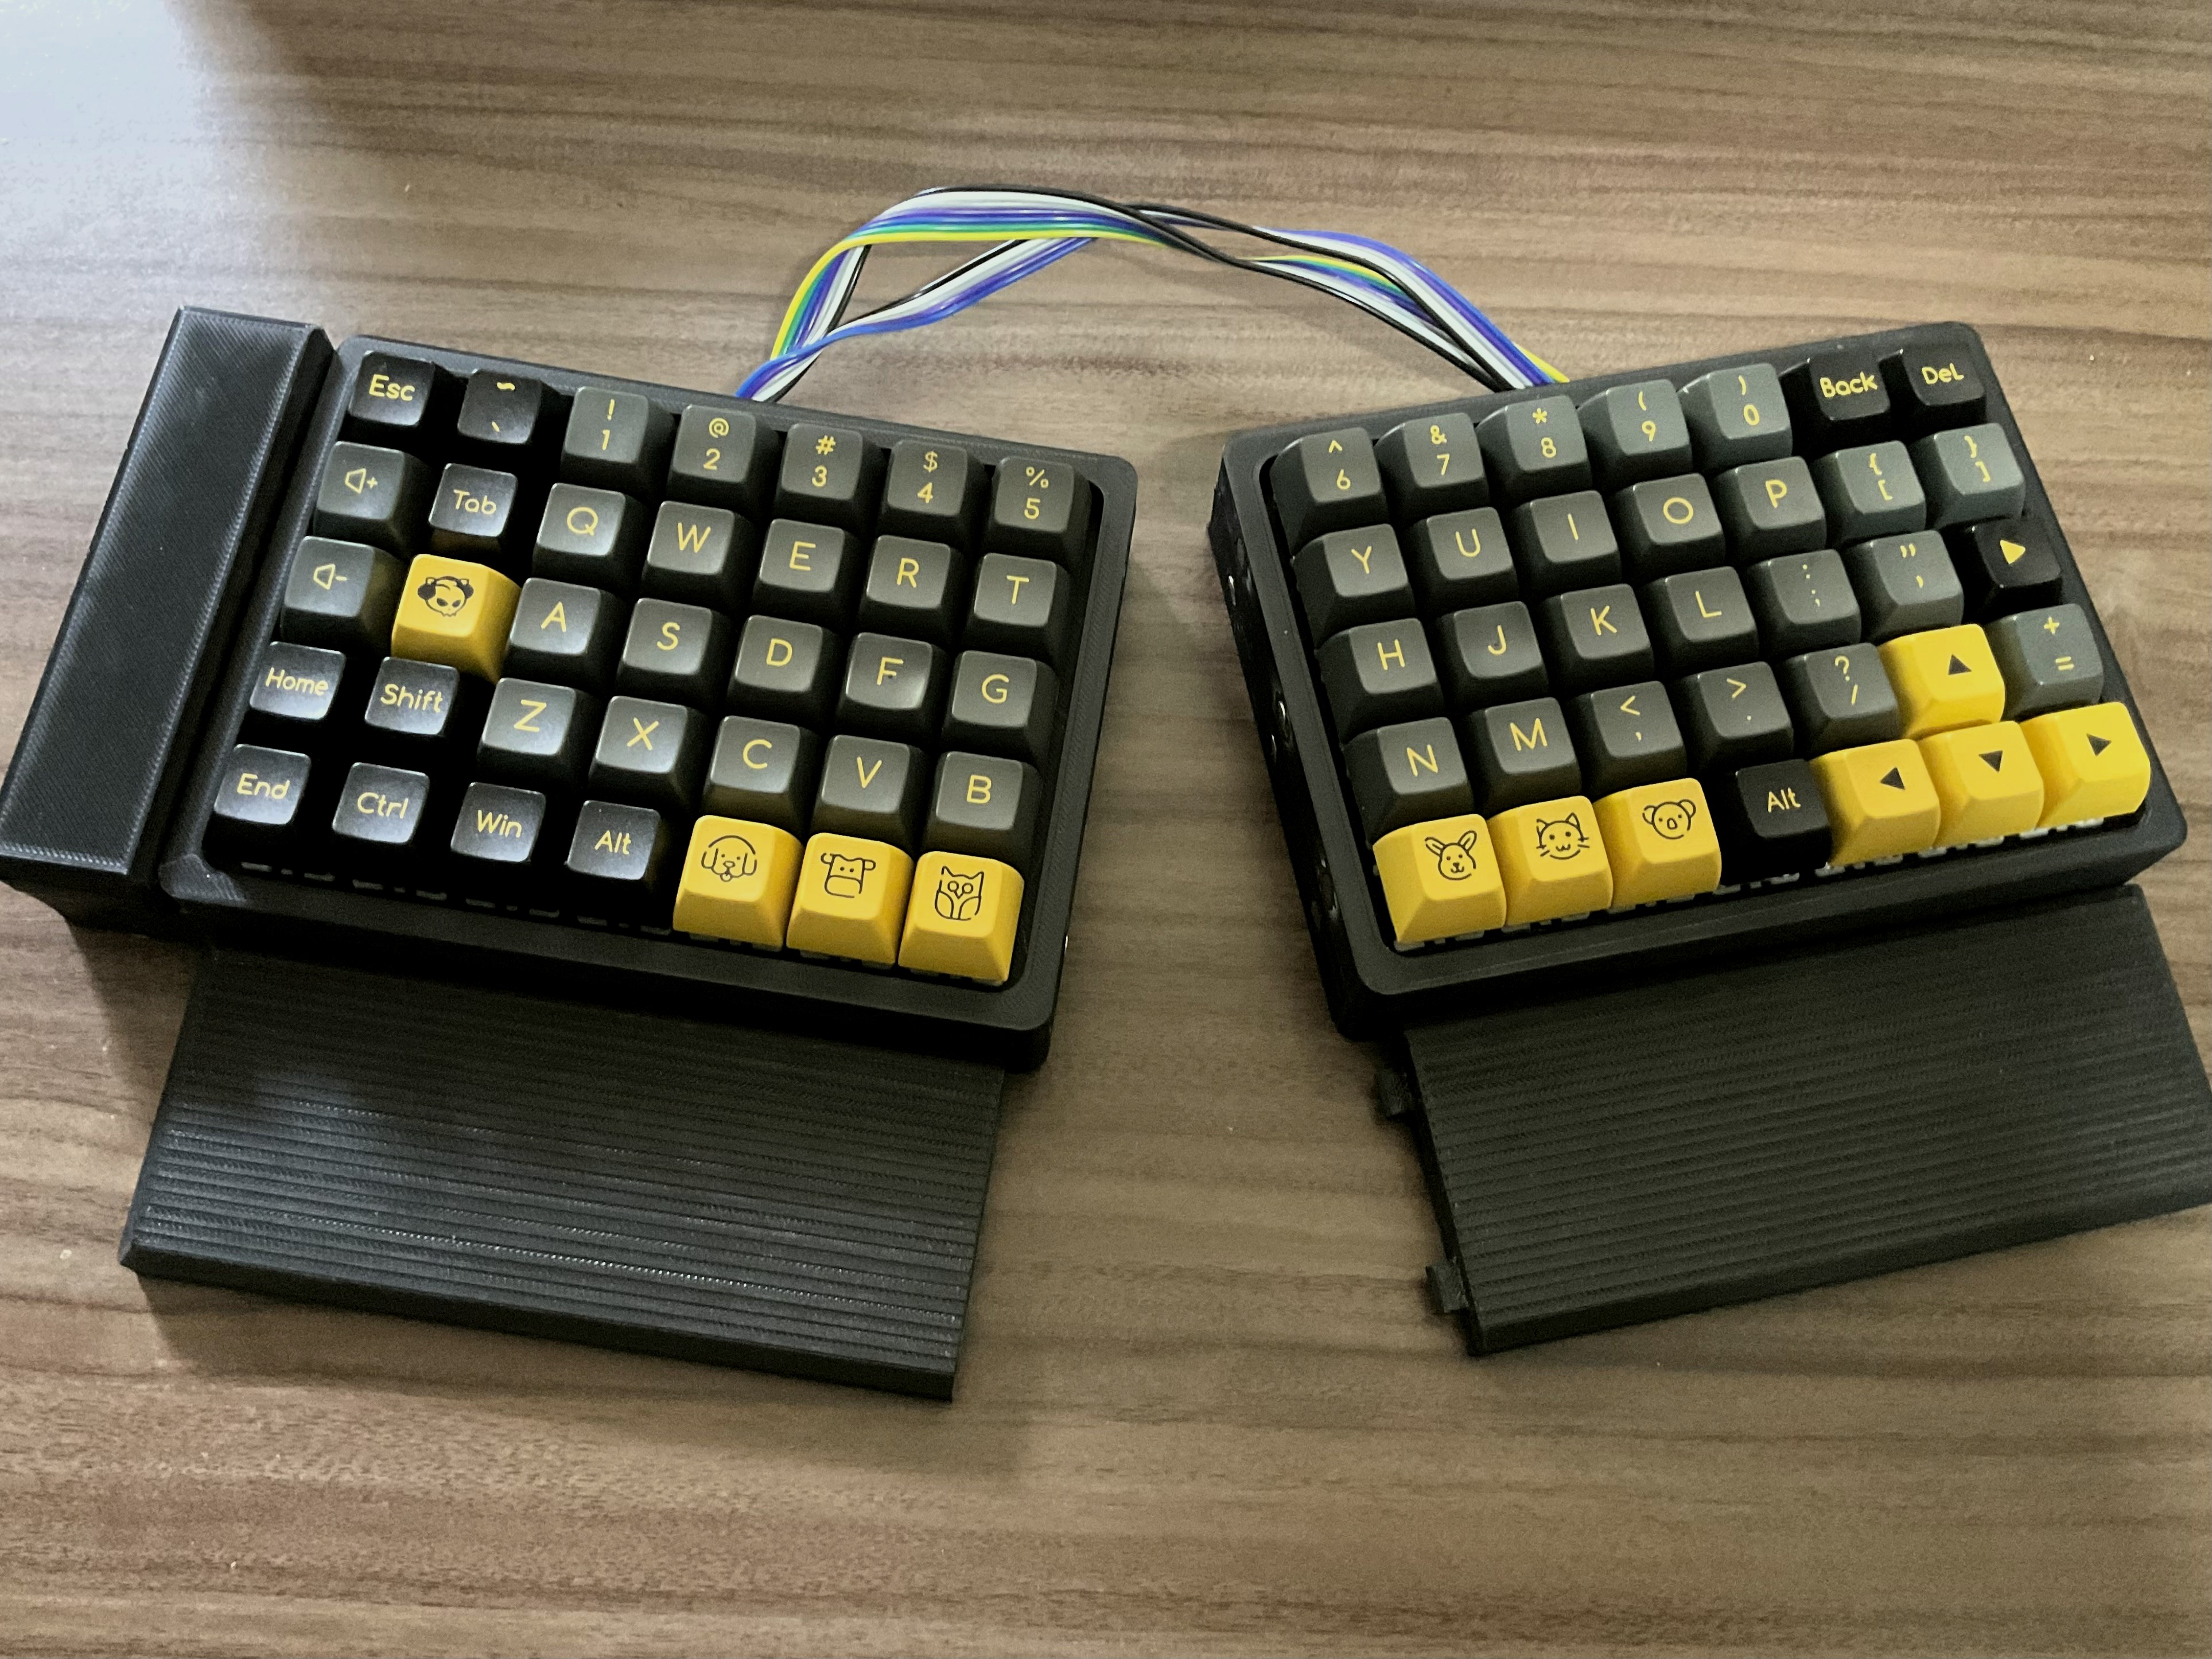
I went with Akko Black and Gold keycaps with SAL profile. I liked the font and the color scheme. It also has a plenty of novelty keycaps. These are ABS keycaps and thus relatively cheap. Having said that, the keycaps cost nearly twice the cost of the remaining components put together.
Assembly
The switches are hand wired. I had designed and printed hotswap sockets to connect the switches, but they weren’t too reliable.
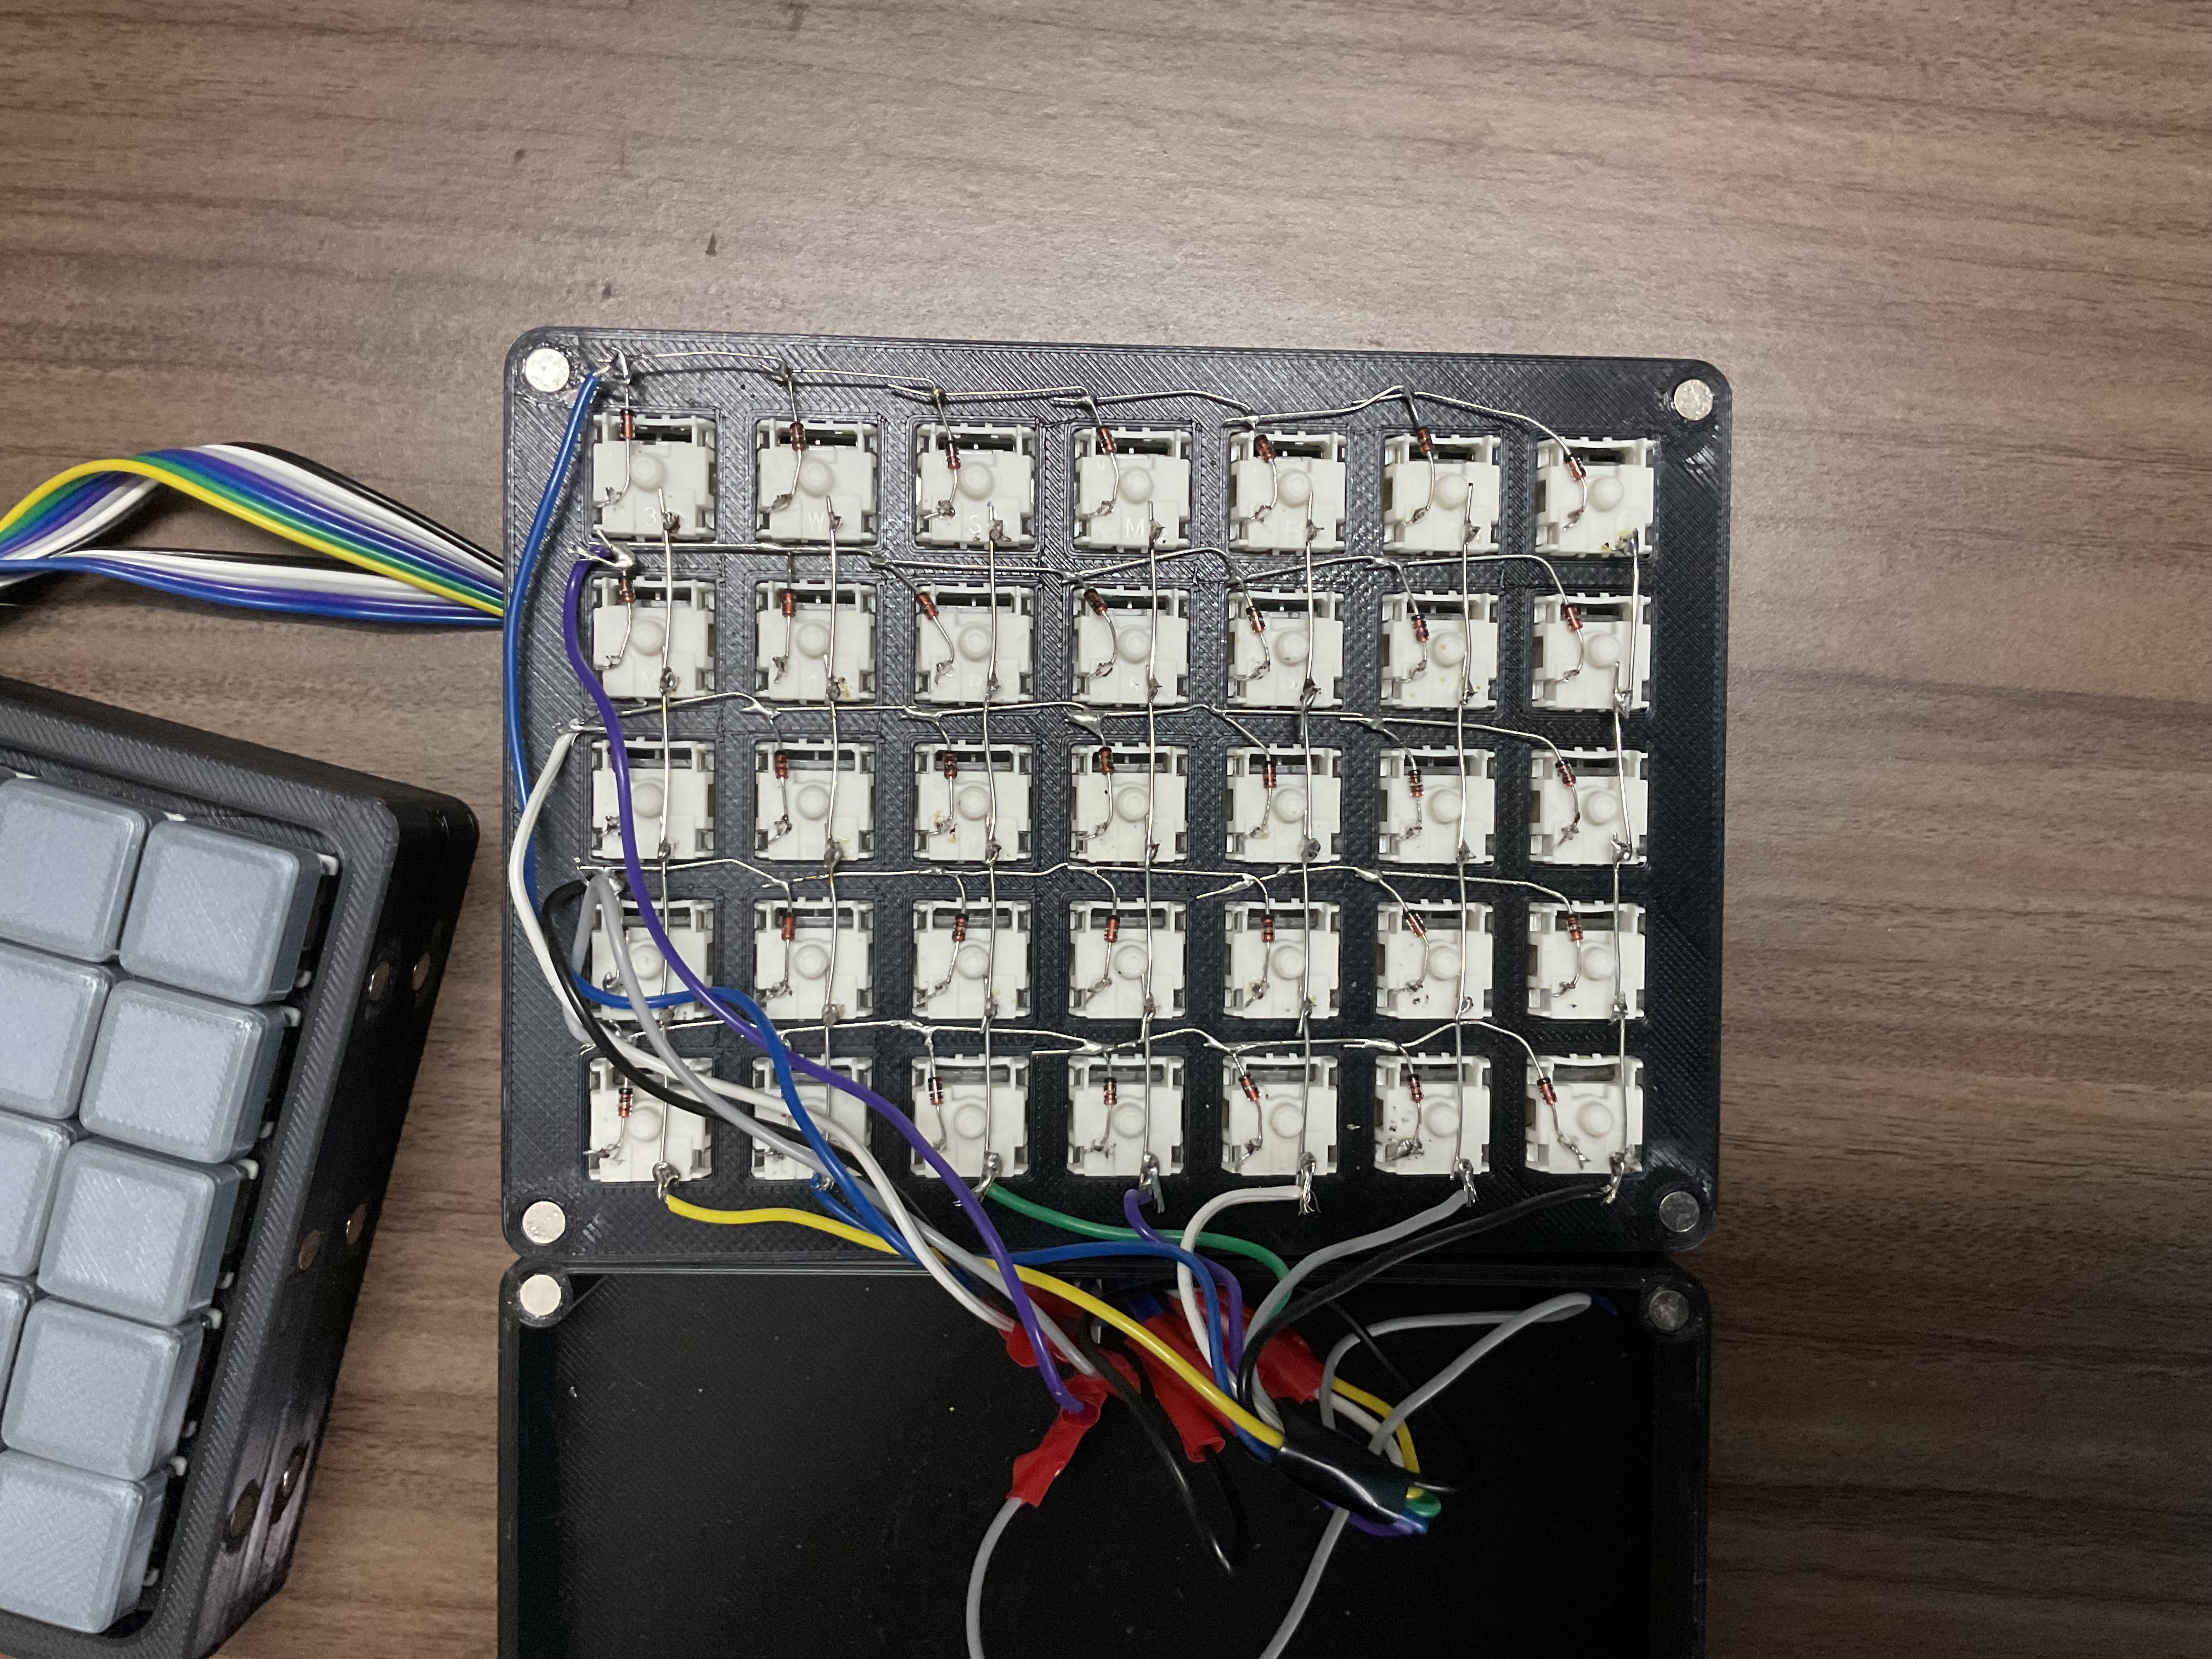
The switches form a 5x7 matrix on each half.

Now that the keyboard is fully built and functional, the next major task is to practice typing on it. The ortholinear layout is very new to me, and pairing it with a split keyboard makes it even more challenging to get used to since I am not a traditional touch typist.
If you try contacting me and if I don’t respond fast enough, understand that it’s not me, it’s the keyboard 😀.
All the files and instructions to build your own H70 can be found here.